Dishes are easy to underestimate. A kitchen may look mostly packed until you reach the plates, bowls, glasses, mugs, serving pieces, and small appliances that are still part of daily life. Then one rushed box becomes a dense, breakable load that is hard to carry and even harder to unpack.
The goal is not to make every plate look gift-wrapped. It is to stop hard surfaces from touching, keep the box from collapsing under the weight, and make sure nothing can shift when the truck turns or brakes. A simple repeatable process works better than expensive supplies used at random: sort, wrap, cushion, pack in manageable layers, then label the box for both the crew and your future self. That order also makes it easier to stop at any point and resume the next day without guessing what the next box needs.
Start by deciding what still needs to stay out
Do not pack the entire kitchen before you have a plan for the last few days at home. Set aside a small group of everyday items for each person, such as a plate, bowl, mug, glass, basic utensils, one pan, and the tools you need for simple meals. Put those essentials in a tote or a clearly labeled box that travels with you or is loaded last.
Then work through the kitchen in the order that creates the least disruption. Special-occasion china, extra mugs, serving dishes, bakeware you will not use, and decorative pieces are usually the easiest place to begin. Pack the dishes you use every day closer to move day. This keeps the kitchen usable without leaving every fragile item for the final night.
As you sort, make three groups: items to pack, items to keep out, and items that should not travel in the moving box. Cracked glass, chipped plates, duplicates you no longer use, and containers missing their lids are worth deciding about now. A move is a poor time to pay to carry something that is already headed for the donation pile or trash.
Set up a simple kitchen packing station
Choose one clear table, counter, or section of floor as your packing station. Keep the open box, paper, tape, marker, and one small trash bag there instead of walking back and forth through every cabinet. Work through one cabinet or shelf at a time, finish the box, and move it out of the kitchen. That prevents a common moving problem: several half-packed boxes, stacks of dishes on every counter, and no clear sense of what is already done.
Keep the packing station away from the route people will use to carry furniture and boxes. If children or pets are in the home, do not leave wrapped glassware at floor level or on a narrow counter edge. Once a dish is wrapped, place it directly into its prepared box rather than building a tall, unstable pile on the table.
It also helps to keep a short inventory for unusually valuable, sentimental, or matching sets. You do not need a formal spreadsheet for every coffee mug. A note that says “eight blue dinner plates, four wine glasses, grandmother’s serving bowl” can be enough to make unpacking less uncertain. Photographing a complete place setting or a display cabinet before packing is another quick way to remember what belongs together later.
Gather the right materials before you open the first cabinet
Kitchenware is dense. That is why a small, clean, sturdy box is safer than a large box packed with dishes to the top. A double-wall dish-pack box is a strong choice for fragile pieces. If you are using a standard moving box, inspect it first. Skip anything damp, crushed, soft at the corners, or weakened by previous tape removal.
- Small sturdy boxes: Keep the weight manageable and give dense kitchenware a firmer base.
- Plain packing paper: Wraps corners and curves without leaving ink on dishes.
- Bubble cushioning or foam sleeves: Useful for thin glass, crystal, handles, and pieces that need an extra layer.
- Cardboard dividers: Helpful for glasses, mugs, and stemware that need to stay separated.
- Packing tape and a marker: Seal the box securely and label at least two sides.
Line the bottom of the box with a generous layer of crumpled packing paper. It should form a soft, even bed, not a few loose sheets that flatten immediately. Keep more paper within reach for each layer and the top of the box. U-Haul’s kitchen-packing guidance similarly recommends individual wrapping and separated cells for delicate dishes and glassware.
Wrap plates and bowls one at a time
Place one plate near a corner of a sheet of packing paper. Pull one side over it, add the next plate if the pair is light and similar in size, then continue folding so the paper cushions both faces and the edges. For valuable, thin, oversized, or sentimental pieces, give each dish its own paper layer rather than trying to save material.
Once wrapped, stand dinner plates and similar flat dishes on edge in the box, like records in a crate. Add a layer of crumpled paper between groups so the stack is supported without being forced together. Plates lying flat can concentrate the stack’s weight on the face of the bottom piece. The important part is a snug, padded fit with no room for the dishes to rock back and forth.
Bowls can be wrapped individually or nested carefully with a layer of paper between each one. Avoid placing a small bowl inside a larger bowl without padding, because the pieces can grind together during transport. Serving platters, lids, and casserole dishes usually need their own paper wrap and should be placed where their broad faces are protected from pressure.
Give glasses, mugs, and stemware extra attention
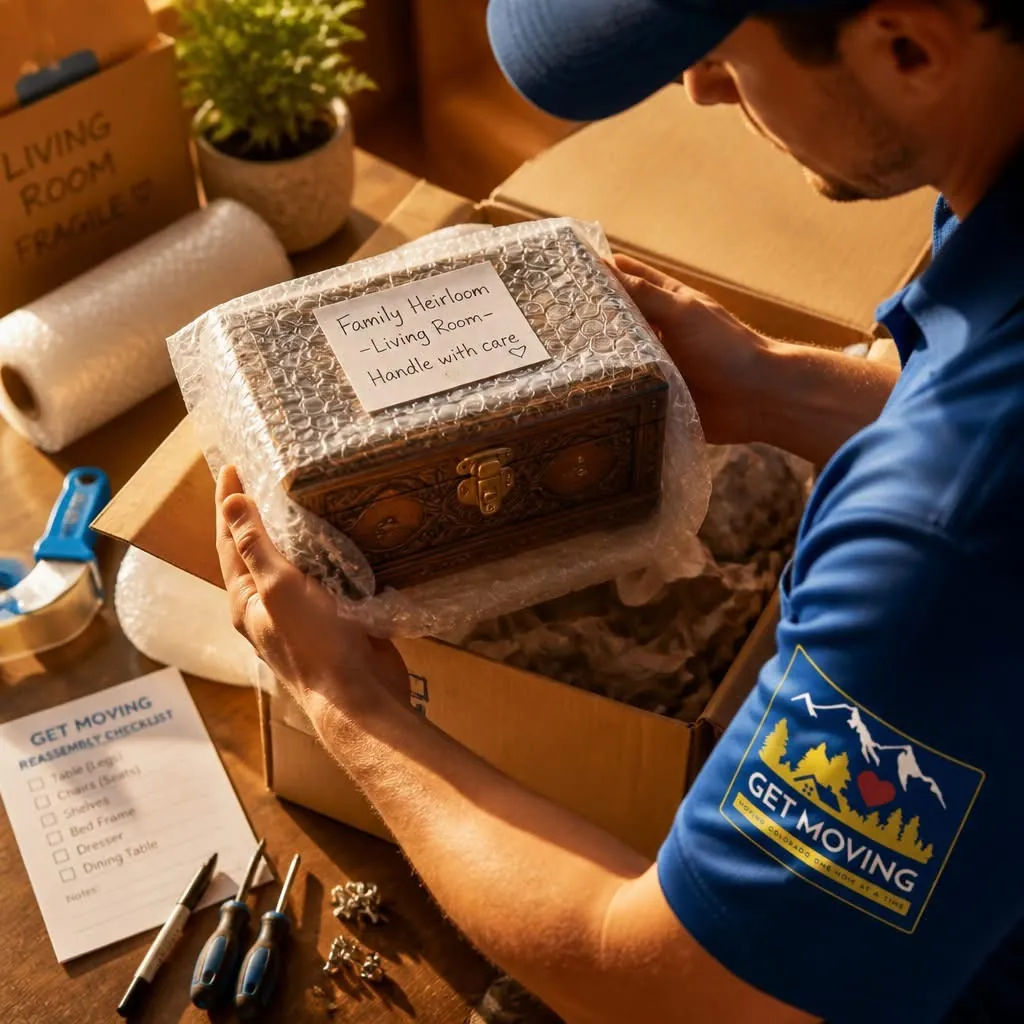
Glass breaks first at the rim, stem, handle, and base. Start with a small cushion of paper inside a glass or mug when it makes sense, then wrap the entire piece from rim to base. Fold the paper over the most vulnerable parts rather than leaving an exposed edge. For mugs, make sure the handle has its own padded layer.
Place wrapped glasses upright in a divided box when you have one. The divider helps keep pieces from meeting each other when the box moves. Without dividers, build a snug row with plenty of packing paper between every piece, then fill the gaps before adding another layer. Never stack a heavy dish directly on a glass or let empty space invite the contents to slide.
Fine stemware, crystal, and irreplaceable pieces are a good reason to slow down. Wrap the stem and bowl separately before covering the full glass, use a smaller box, and mark it clearly. Lowe’s dish-packing guide also stresses individual wrapping and sturdy moving boxes for reducing chips and cracks.
Pack heavier kitchen items in their own boxes
Pots, pans, cast-iron cookware, baking sheets, and small appliances do not belong on top of fragile dishes. They are dense enough to crush a box or create a hard impact point when the truck shifts. Use a separate box for the heaviest kitchen items, or place only a few at the bottom of a sturdy box with paper between the surfaces.
Put matching lids with their pots or wrap them separately so metal edges do not scratch a finished surface. Remove loose pieces from appliances when possible and pack them with the appliance, not in a random dish box. A blender blade, food-processor attachment, or toaster tray is much easier to find when it stays with the item it belongs to.
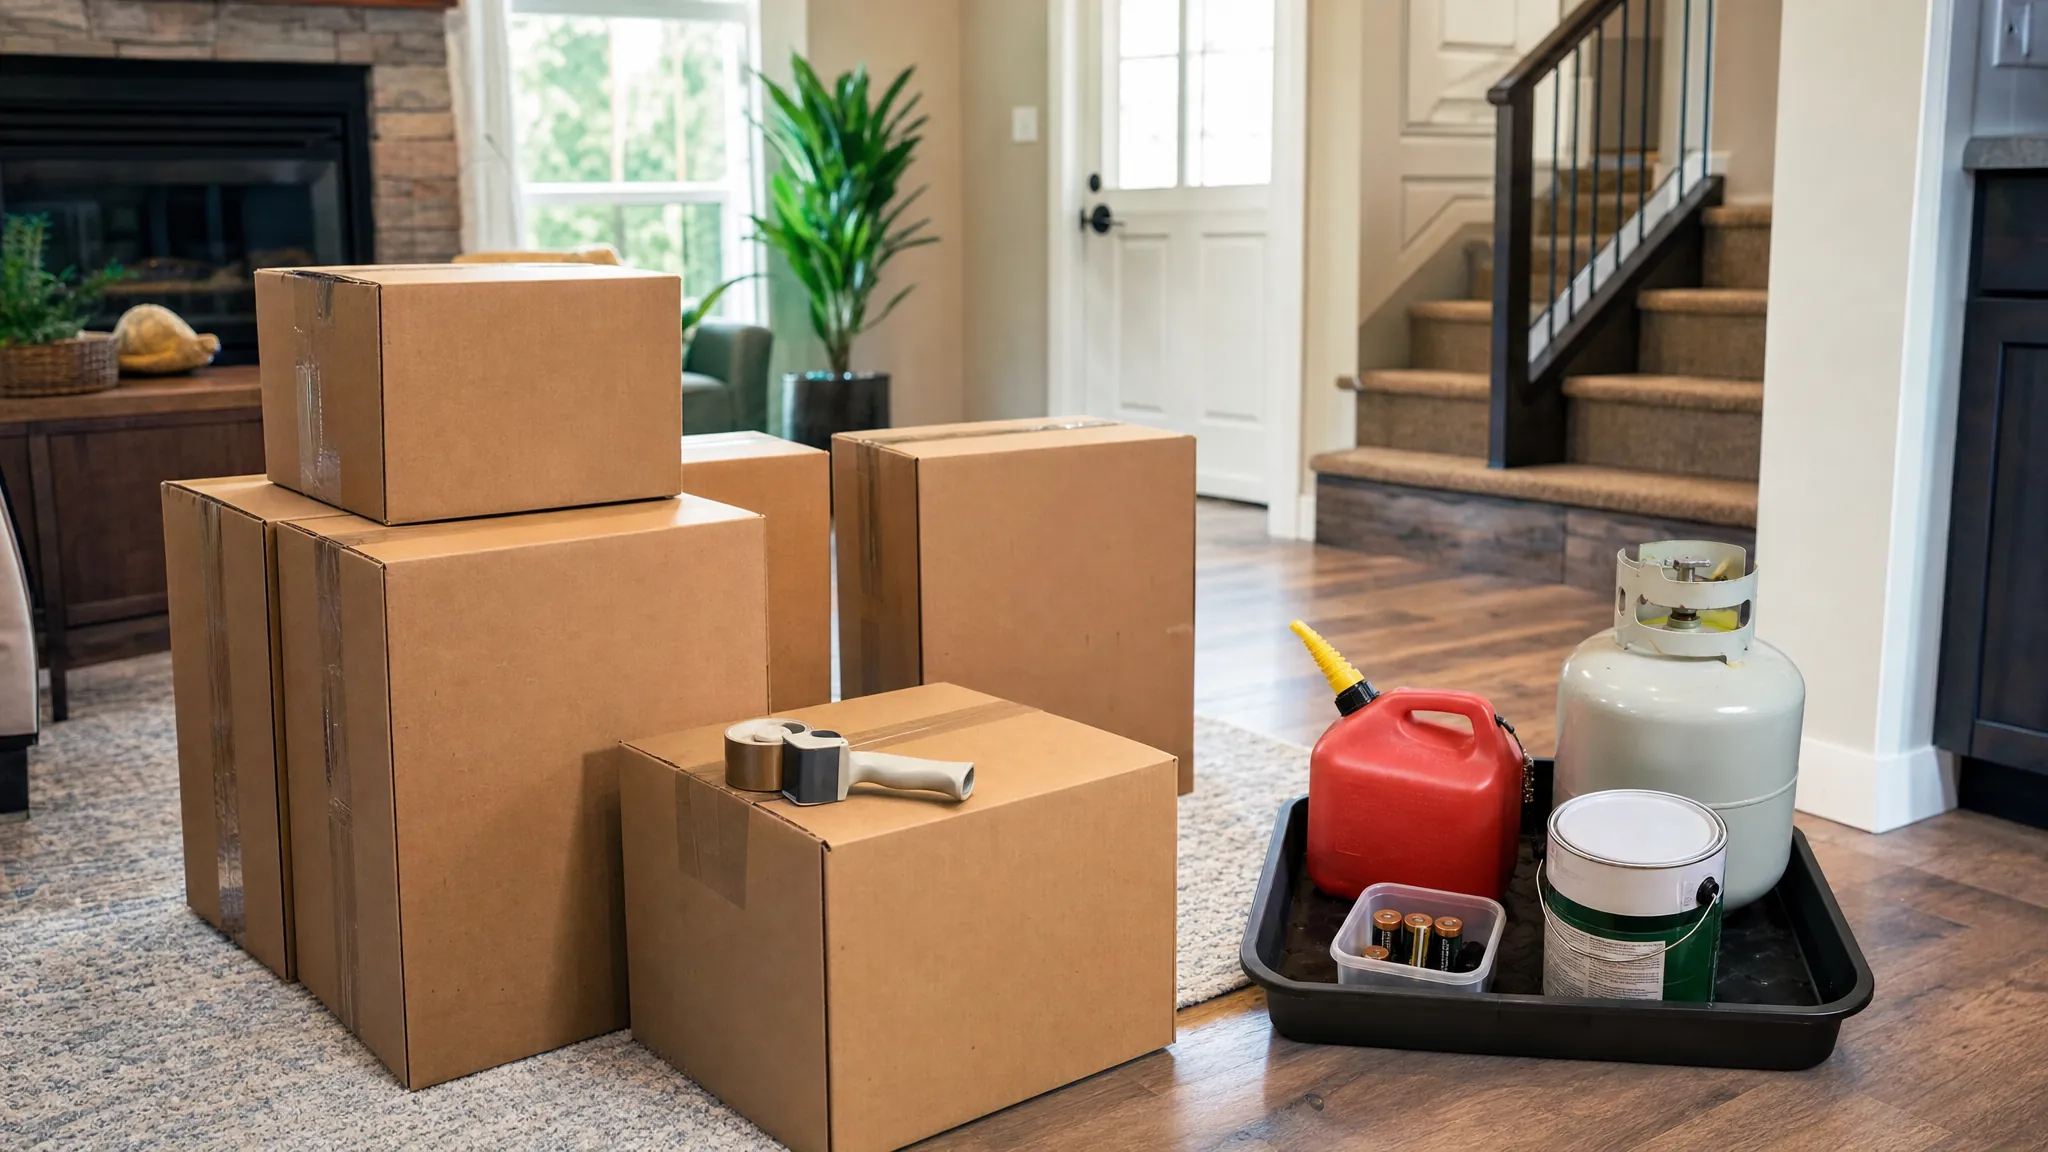
Keep food and liquids out of fragile-item boxes. A leaking bottle or loose pantry item can soak paper, weaken cardboard, and turn an otherwise careful pack into a problem. Our guide to what not to pack when moving covers the household items that need a separate plan before moving day.
Build the box in light, supported layers
After the cushioned bottom, add one organized layer of wrapped dishes. Fill the gaps with crumpled paper, then add more cushioning before the next layer. The paper is not filler for its own sake. It stops a plate, bowl, or glass from moving into another hard surface when the box is tipped, carried downstairs, or placed in the truck.
Keep checking the weight as you go. A box that feels manageable in the kitchen can become unsafe once it is sealed and carried through a doorway. When the box is getting heavy, stop and start another one. It is better to have two stable boxes than one overloaded box that splits at the bottom or causes someone to lose their grip.
Finish with a top layer of crumpled paper so the contents do not touch the lid. Close the flaps without forcing them down, tape the center seam and both side seams, then label two sides with the room, contents, and a clear fragile note. Add a short useful detail, such as “Kitchen, everyday plates” or “Dining room, glass serving bowls,” so unpacking does not become a search through identical boxes.

Load and unload dish boxes with a plan
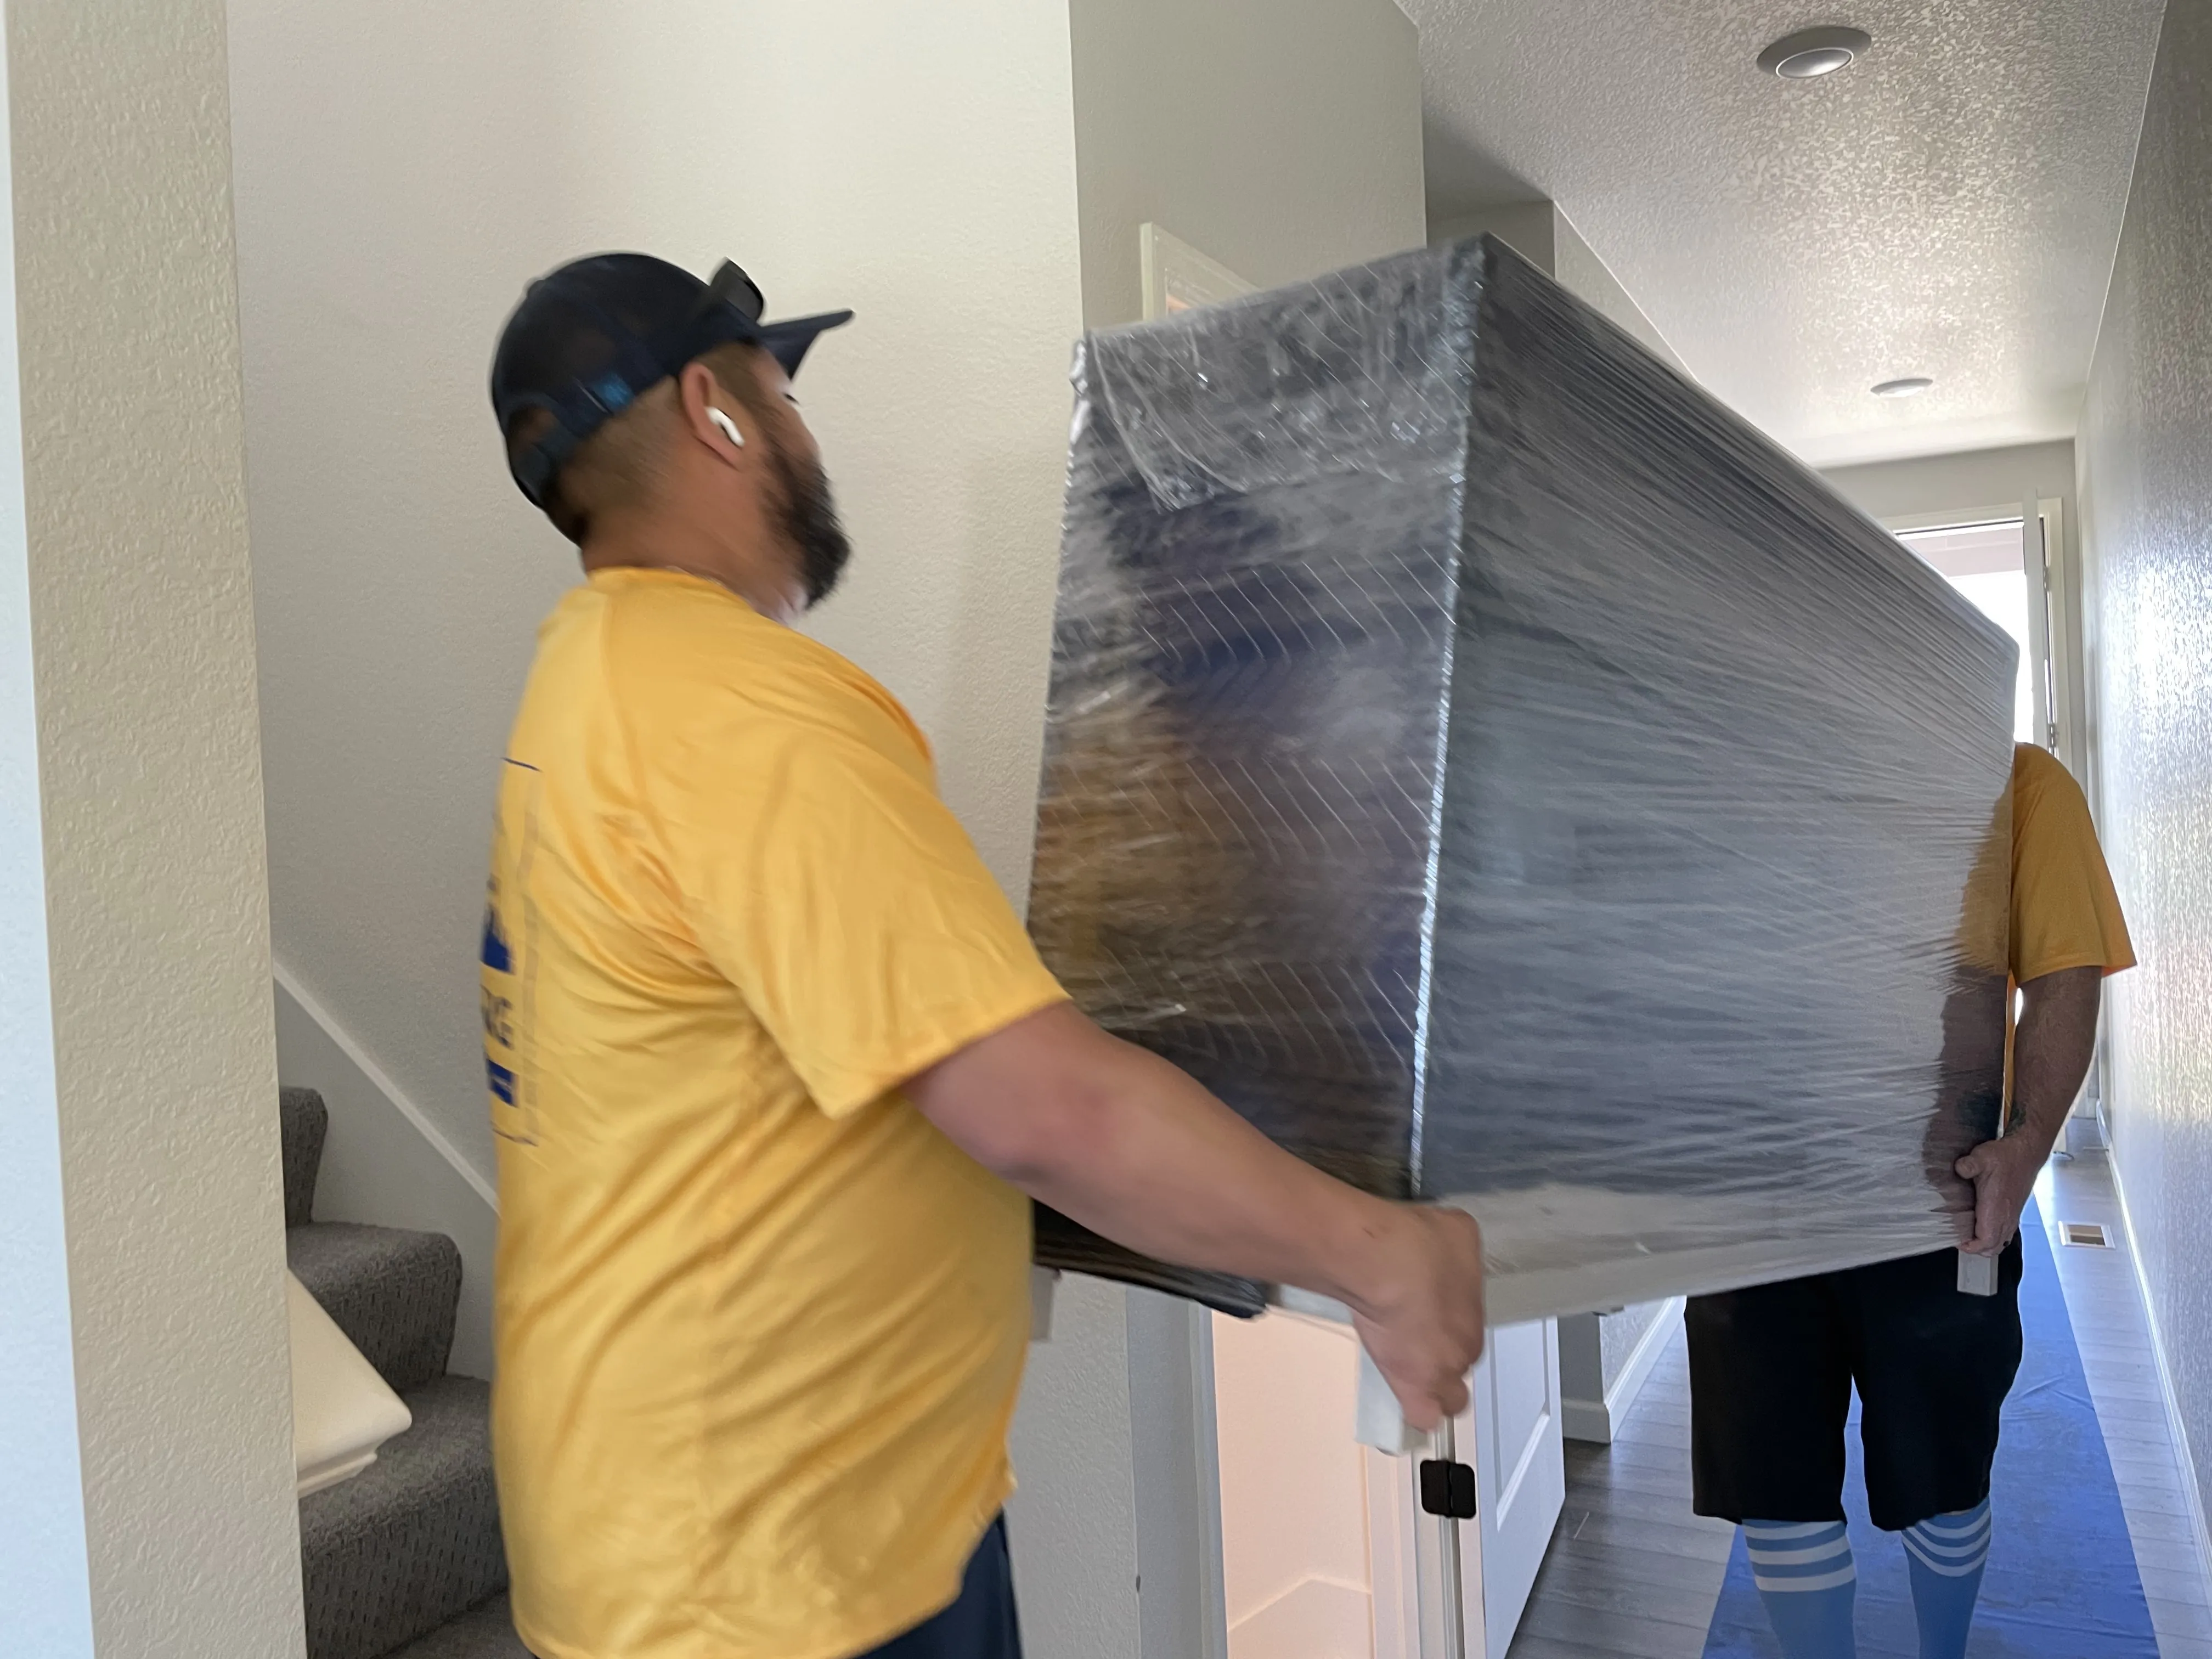
A well-packed dish box still needs a protected place in the truck. Keep it upright, low, and away from loose heavy items. Do not stack furniture, appliances, or dense boxes on top of it. If several kitchen boxes travel together, group them so the fragile labels stay visible and the crew knows those boxes need a stable part of the load.
At the new home, bring the dish boxes into the kitchen or dining area before you open them. Start from the top and unwrap one group at a time, placing paper in a bag or box as you go. This makes it easier to see a chipped item immediately and keeps wrapping paper from covering the floor while people are still carrying furniture through the home.
When the kitchen is full of boxes, unpack the essentials first. You do not need every serving dish on the first night. A small working set of plates, glasses, utensils, a pan, and cleaning supplies gives you a functional kitchen while the rest of the house comes together.
Do a final box check before it leaves the kitchen
Before you seal each box, gently press the contents from side to side. Nothing inside should rattle, slide, or sink into a gap. Add more crumpled paper wherever you feel movement. Then lift the box a few inches using the bottom and sides, not just the top flaps, to make sure the weight is realistic for one person to carry. If it feels awkward now, it will be worse on stairs or when someone is trying to fit it into the truck.
Write “fragile” as a clear handling note, but do not depend on a label to rescue a poorly packed box. The wrapping, cushioning, manageable weight, and stable loading position do the real protective work. The label is simply a useful signal for the people handling the box and for the first person who begins unpacking at the new home.
Know when packing help is the better option
Professional packing can be worth it when the kitchen is large, the move is close, the household includes fine china or fragile collections, or you simply do not have enough uninterrupted time to pack carefully. A good packing plan protects the items that matter while keeping the rest of the move on schedule.
Get Moving provides full and partial packing help for Northern Colorado households, including the rooms that take the most time and attention. The same team can also handle local residential moving, or provide loading and unloading help when you already have the truck or container arranged. Share the kitchen size, the fragile pieces involved, and the move details when you request a free estimate.
Frequently asked questions
Should plates be packed flat or on their edge?
Pack dinner plates and similar flat dishes on their edge in a sturdy box, with cushioning between each piece and around the outside of the stack. This gives the box a stable, supported arrangement and avoids putting the full weight of the stack directly on the face of the bottom plate.
What is the best box for packing dishes?
A small, sturdy double-wall dish box is the safest choice for plates, bowls, and glassware because those items are dense and fragile. A clean, undamaged small box can work for a lighter load, but line it well, keep the weight manageable, and do not use a box that is damp, crushed, or already weakened.
Can I pack dishes in towels or clothing?
Clean dish towels can add protection around a few sturdy pieces, but packing paper is easier to shape around edges and keeps the bundle more consistent. Do not rely on a single loose towel for delicate glass or fine china. Use it as an extra layer, then fill gaps so the item cannot move inside the box.
How do I pack glasses and mugs for moving?
Wrap each glass or mug individually, paying special attention to rims, handles, and stems. Place them upright in a divided box when possible, fill empty space with crumpled paper, and keep the box light enough to carry steadily. Never place a heavy item on top of packed glassware.