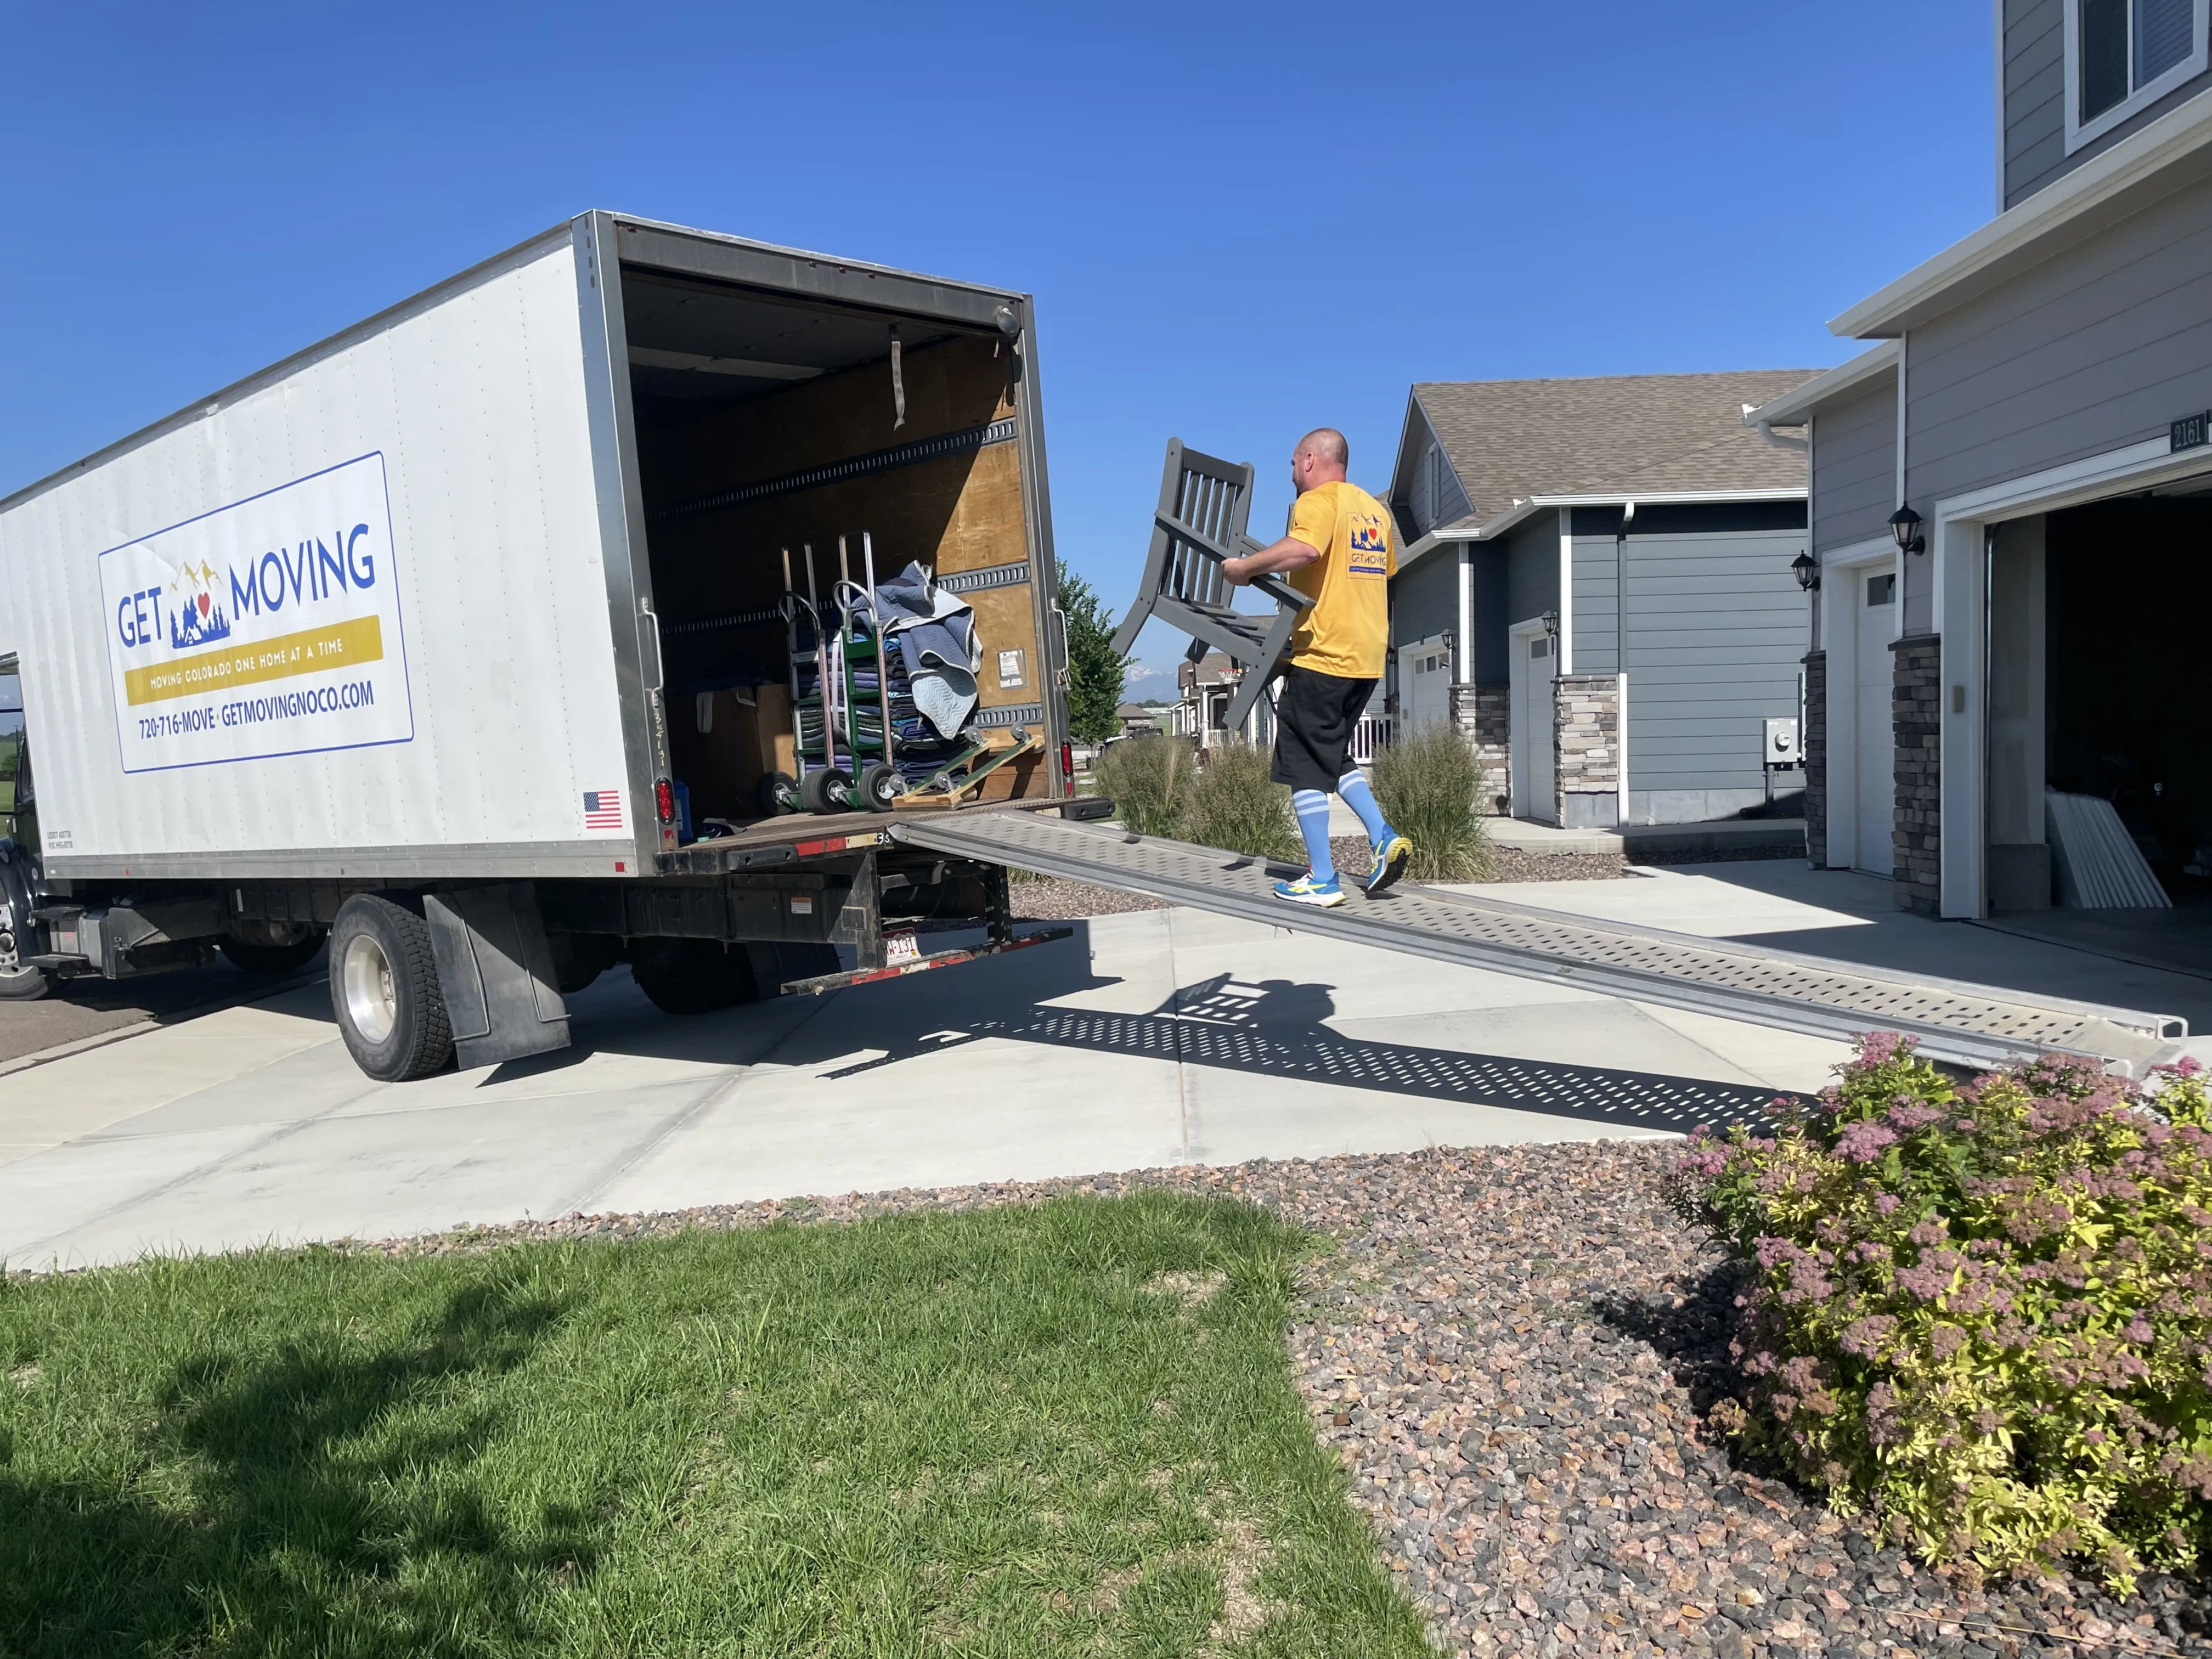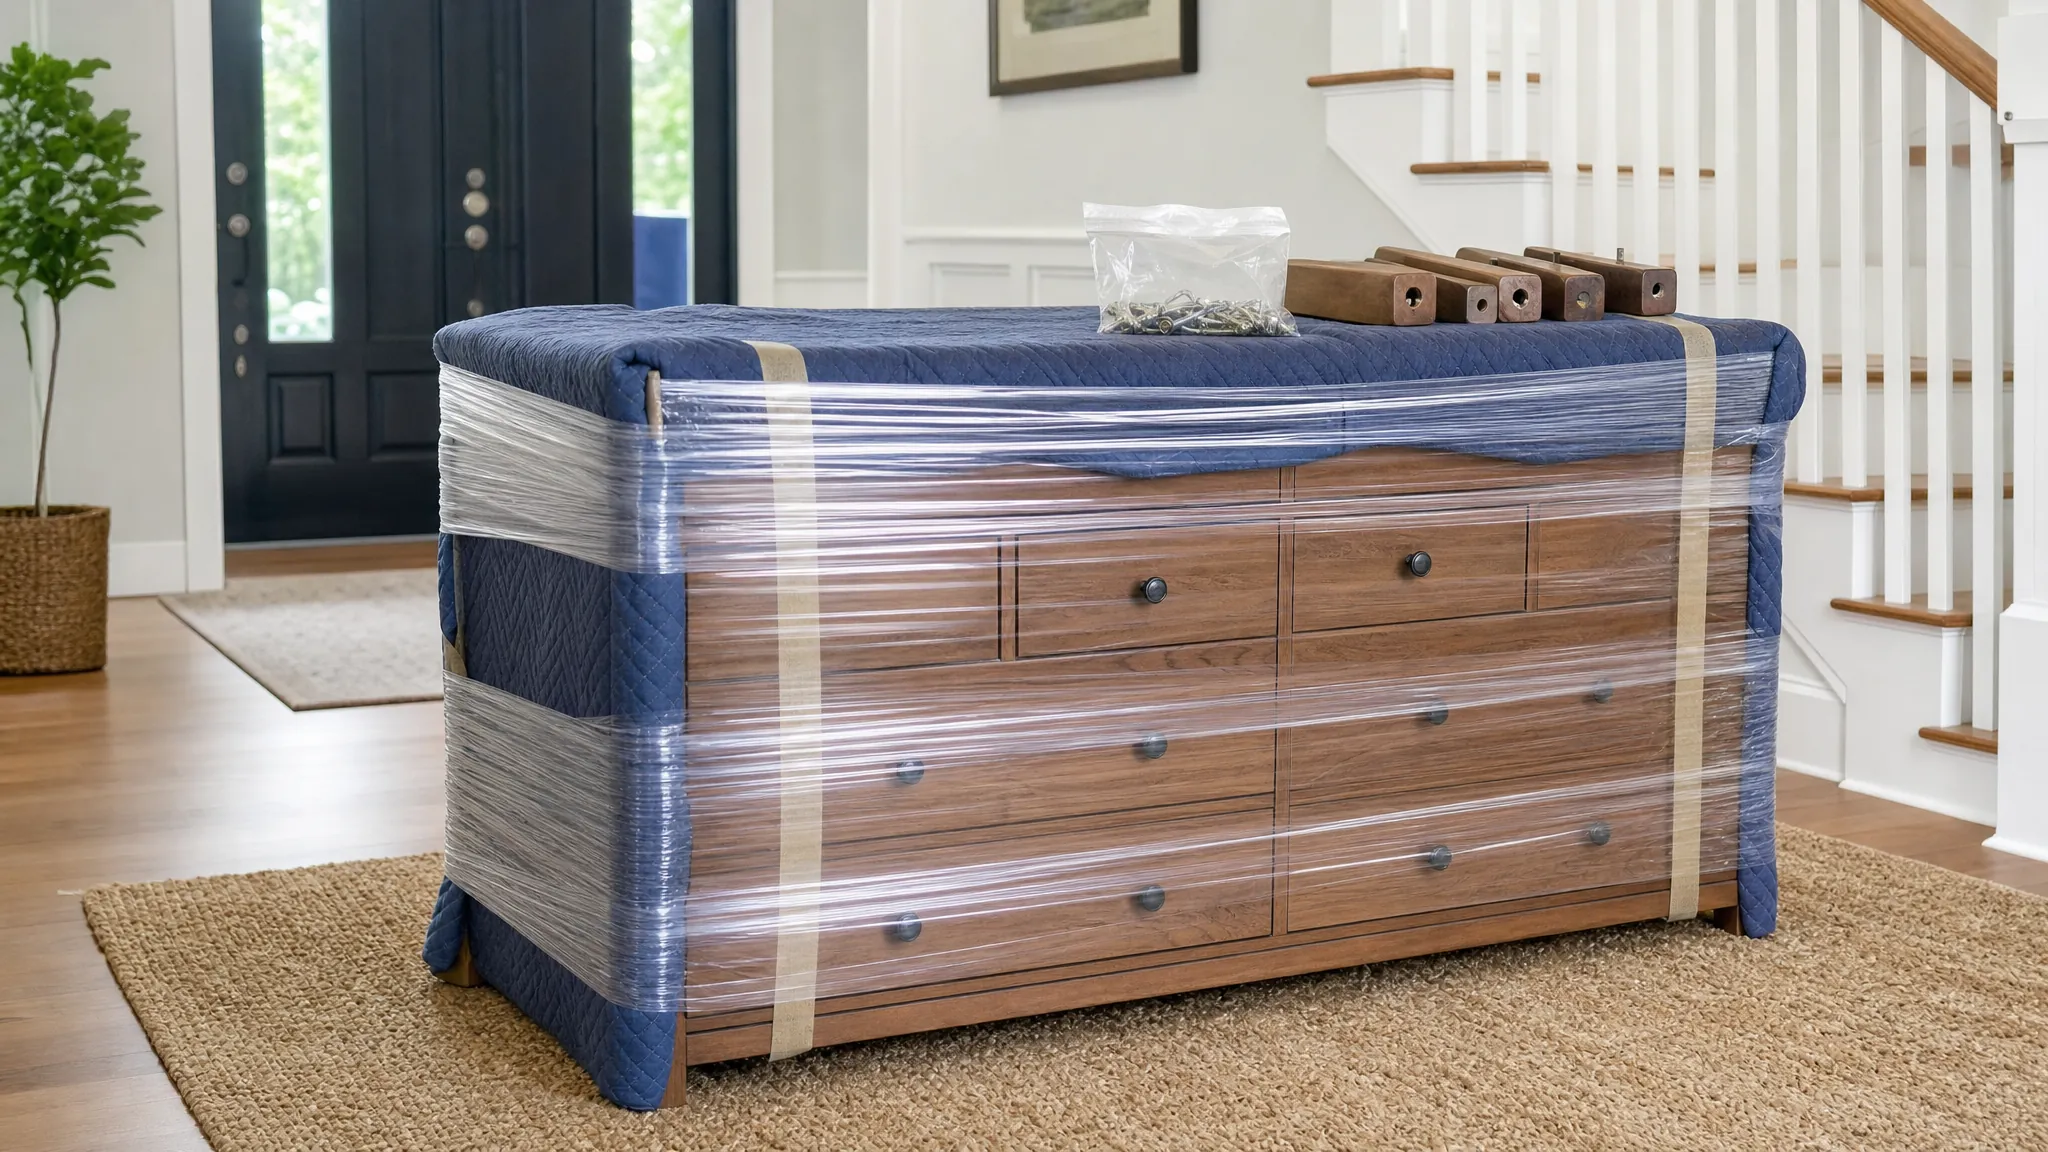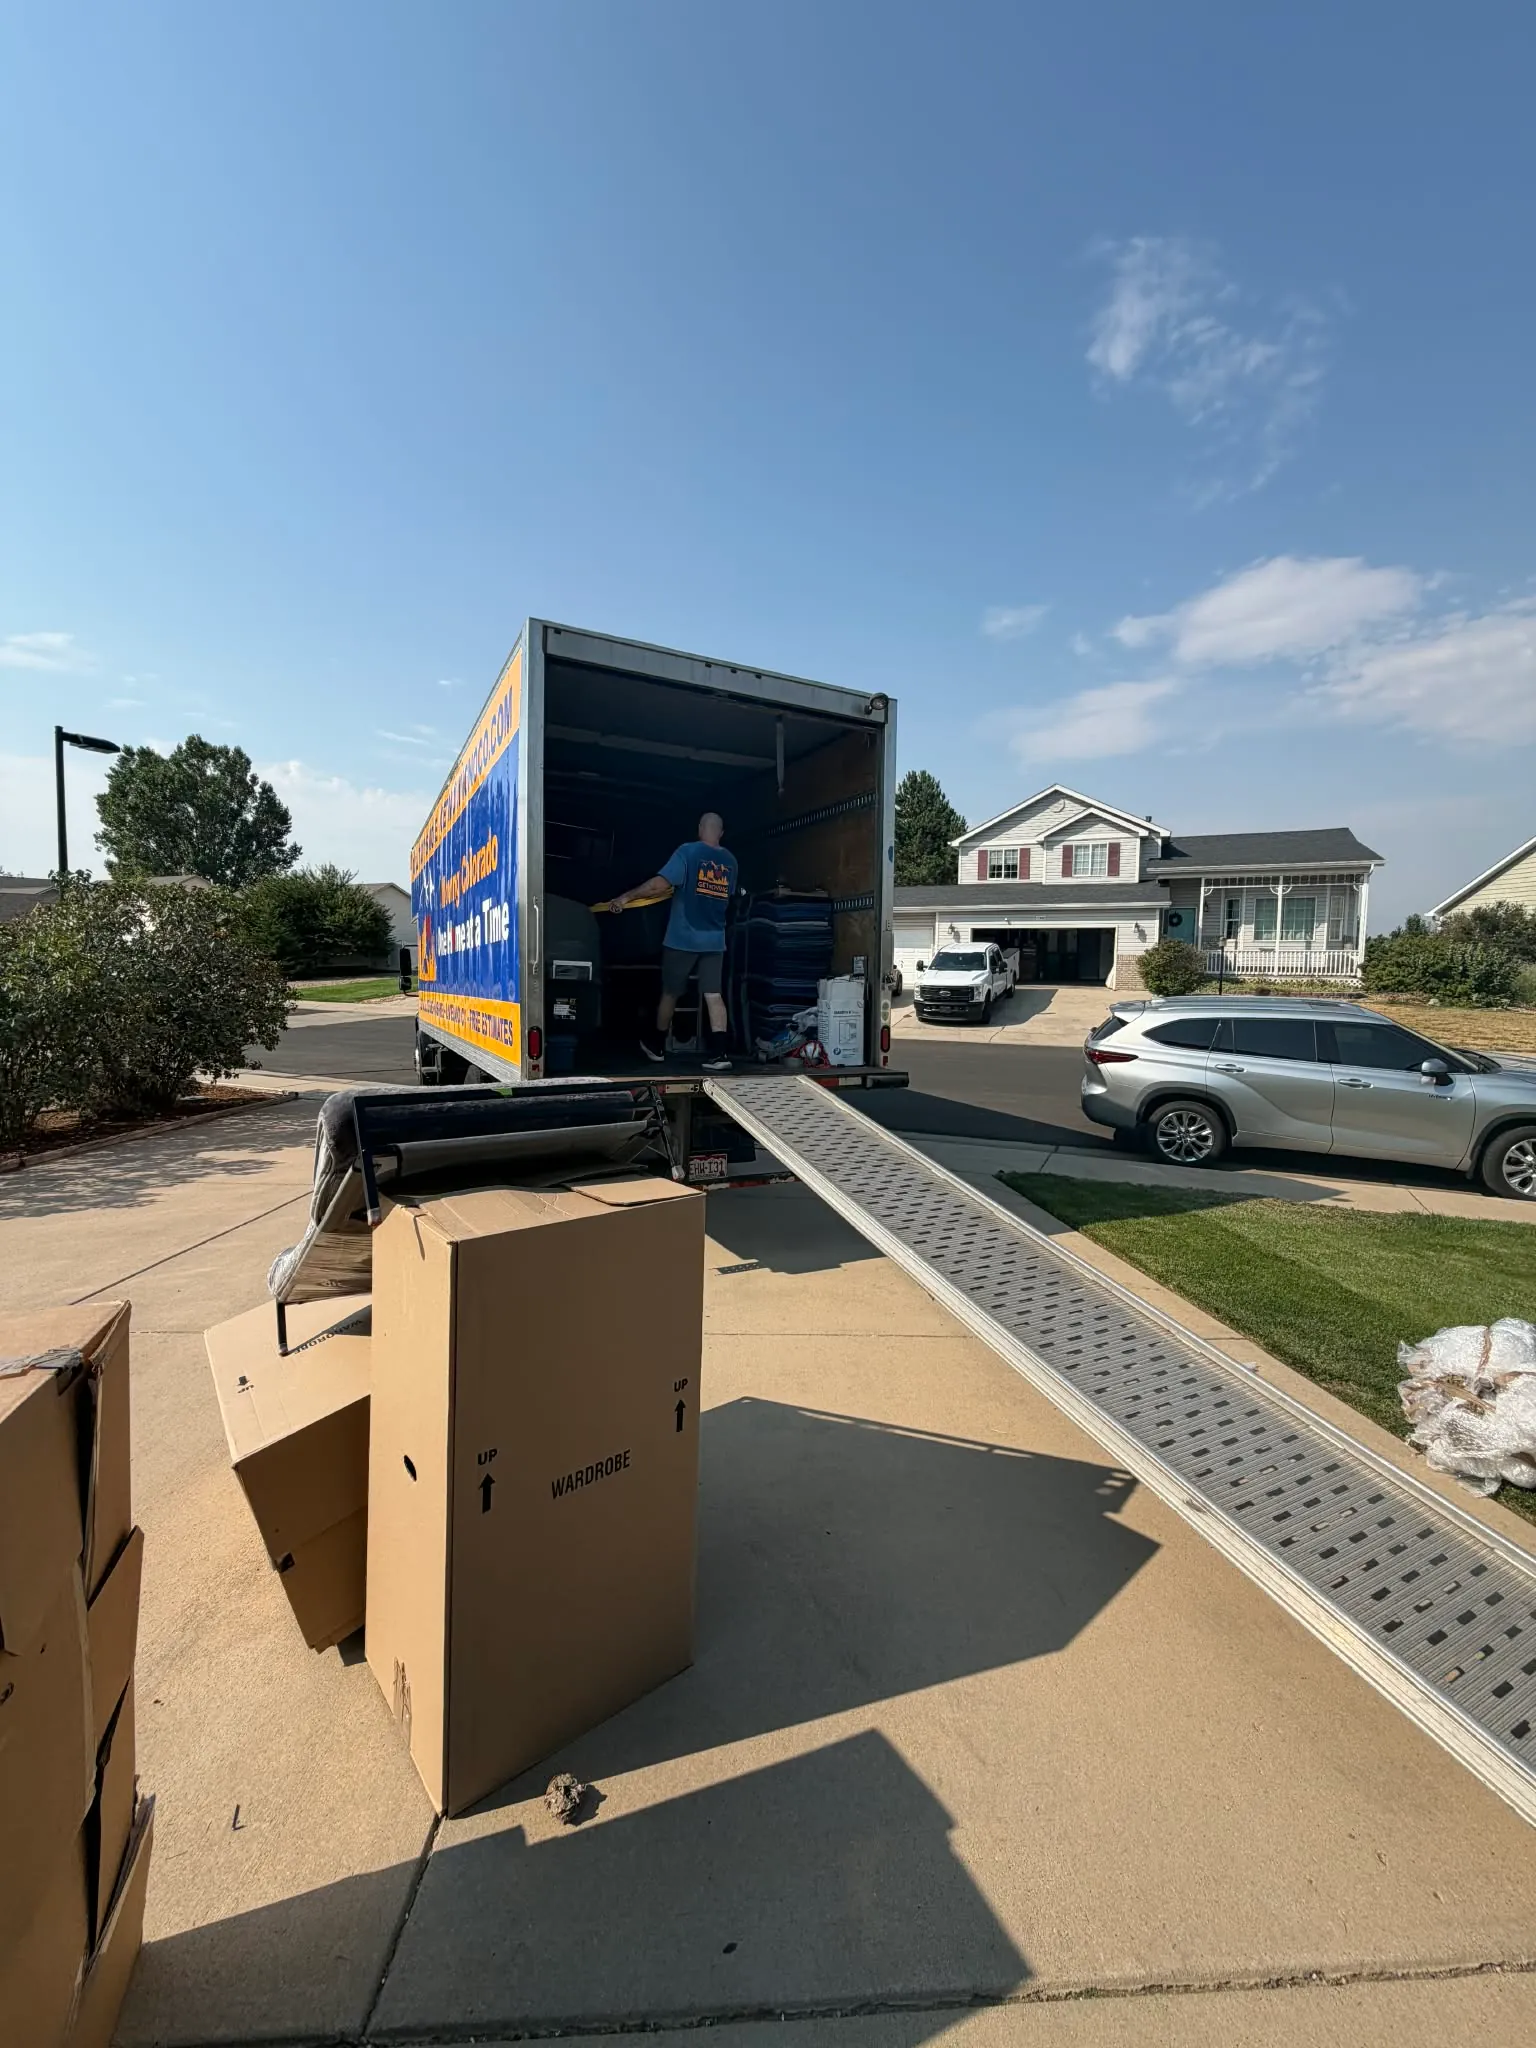
A washer and dryer can be two of the most awkward things in a home to move. They are heavy, hard to grip, tucked into small laundry rooms, and connected to water, power, venting, and sometimes gas. The hard part is rarely just lifting. It is preparing each machine correctly, making the route safe, and knowing when the job needs a different plan.
Start with the owner manuals for the exact washer and dryer. They are the authority on transit bolts, hose preparation, approved transport positions, and installation requirements. This guide gives a practical moving sequence, but it should never override the instructions for the machines in front of you.
Start with a route and equipment check
Measure each appliance and the route before moving anything. Include the doorway, hallway, turns, stairs, landing, exterior threshold, truck opening, and final laundry space. A machine that clears the laundry-room door may still be too difficult at the next turn, especially with a dolly underneath it.
Gather an appliance dolly or suitable hand truck, rated straps, moving blankets, floor protection, a bucket, towels, and any model-specific transit bolts or packing materials. Moving blankets protect the machines, walls, and door frames. Floor protection gives people better footing and helps keep finished floors from becoming part of the bill.
Decide where each person will stand and where the machines can be set down safely if the route needs to pause. U-Haul’s washer and dryer moving guide also recommends an appliance dolly, protective pads, and a planned team approach. If stairs, a steep driveway, ice, or a narrow shared hallway are part of the route, treat that as a reason to get more help, not to move faster.
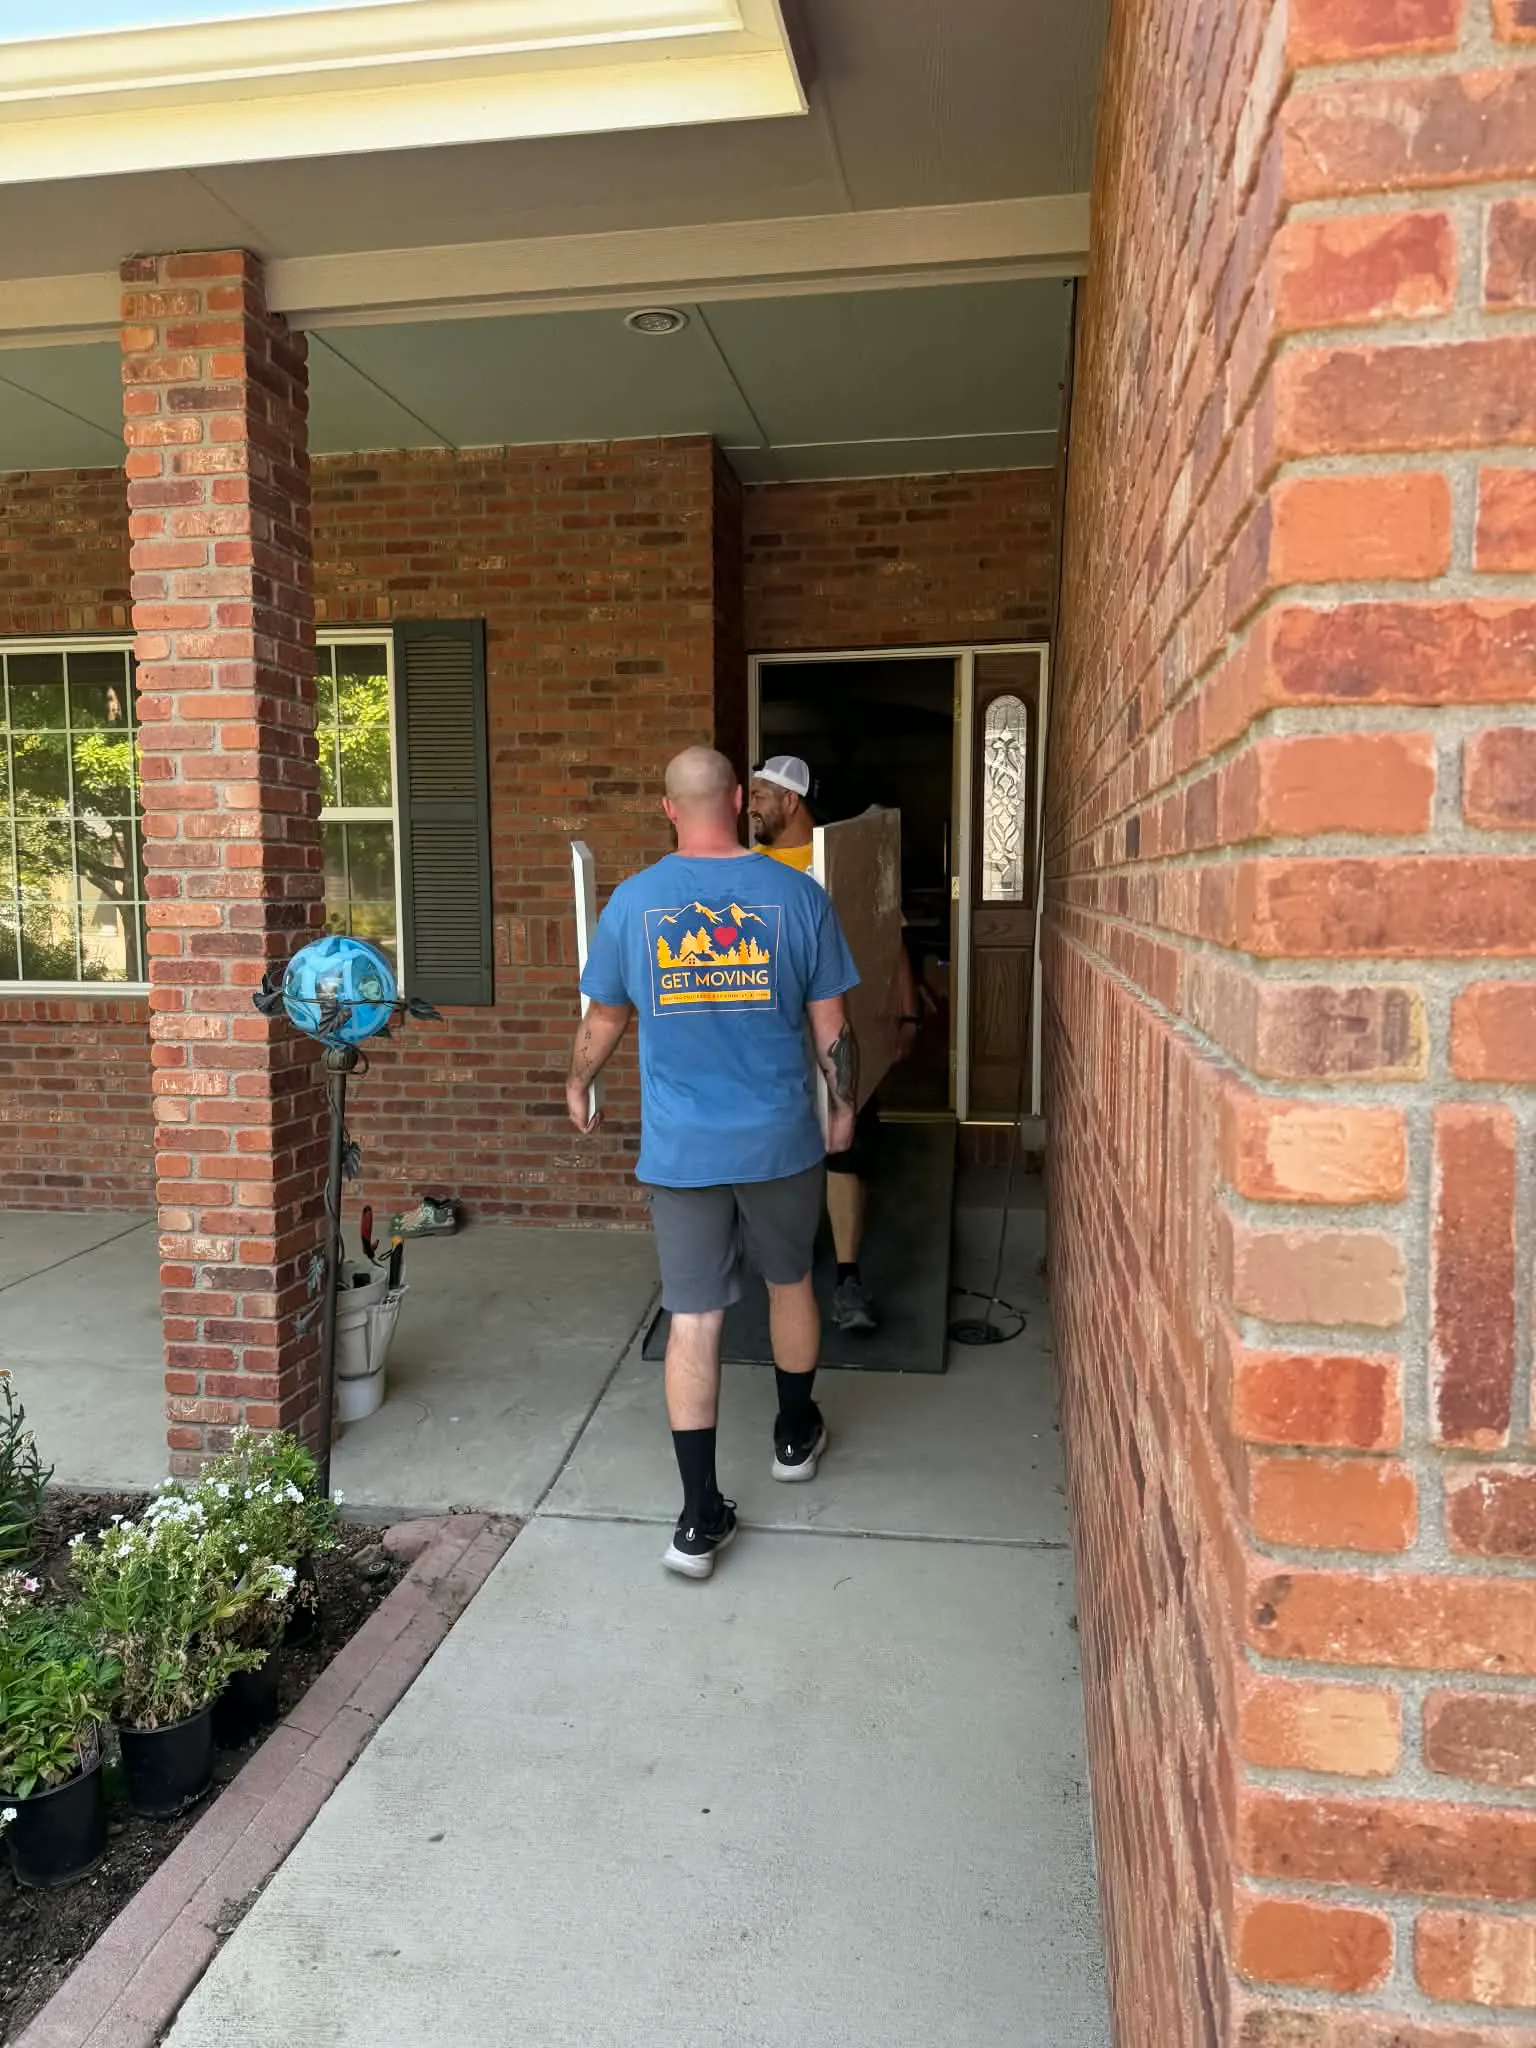
Prepare the washer before it leaves the laundry room
Run the last load early enough that the drum can dry. Remove clothing, detergent trays if the manual allows, and any loose items. Leave the door open long enough to reduce trapped moisture. A wet washer can leak during the move and can develop odor if it is sealed up immediately after a cycle.
Turn off the water supply valves, disconnect the water hoses according to the manual, and drain them into a bucket. Keep towels ready for the water that remains in the hoses, drain line, and machine. Secure the power cord to the back of the washer so it cannot drag or catch under the dolly. Do not leave hoses loose where they can snag on a door frame or wheel.
Front-load washers often need their original transit bolts reinstalled to stabilize the drum and suspension during transport. Whirlpool specifically advises using the correct shipping bolts for a front-load washer and keeping the machine upright. Read the model’s manufacturer moving instructions before substituting a generic workaround. If you no longer have the bolts, pause and find out what the manufacturer permits instead of guessing.
Prepare the dryer, and separate gas work from moving work
Clean out lint and make sure the drum is empty. Shut off power at the appropriate source, unplug the dryer, and secure the cord to the back. Disconnect the vent according to the appliance instructions, then keep the vent parts together so they do not disappear into a box of miscellaneous hardware.
An electric dryer and a gas dryer are not the same project. For a gas dryer, a qualified professional should disconnect and reconnect the gas line. Whirlpool’s appliance guidance makes that distinction clearly, because gas disconnection is not a moving shortcut or a task to hand to an unprepared helper. Do not move a gas dryer until that part of the work has been handled safely.
Do not tape directly to finished surfaces unless the appliance manufacturer says it is safe. Use moving blankets and a temporary securing method that protects the finish while keeping doors and cords from swinging open. Keep each dryer with its own vent pieces, installation hardware, and manual so the setup at the new home is less of a scavenger hunt.
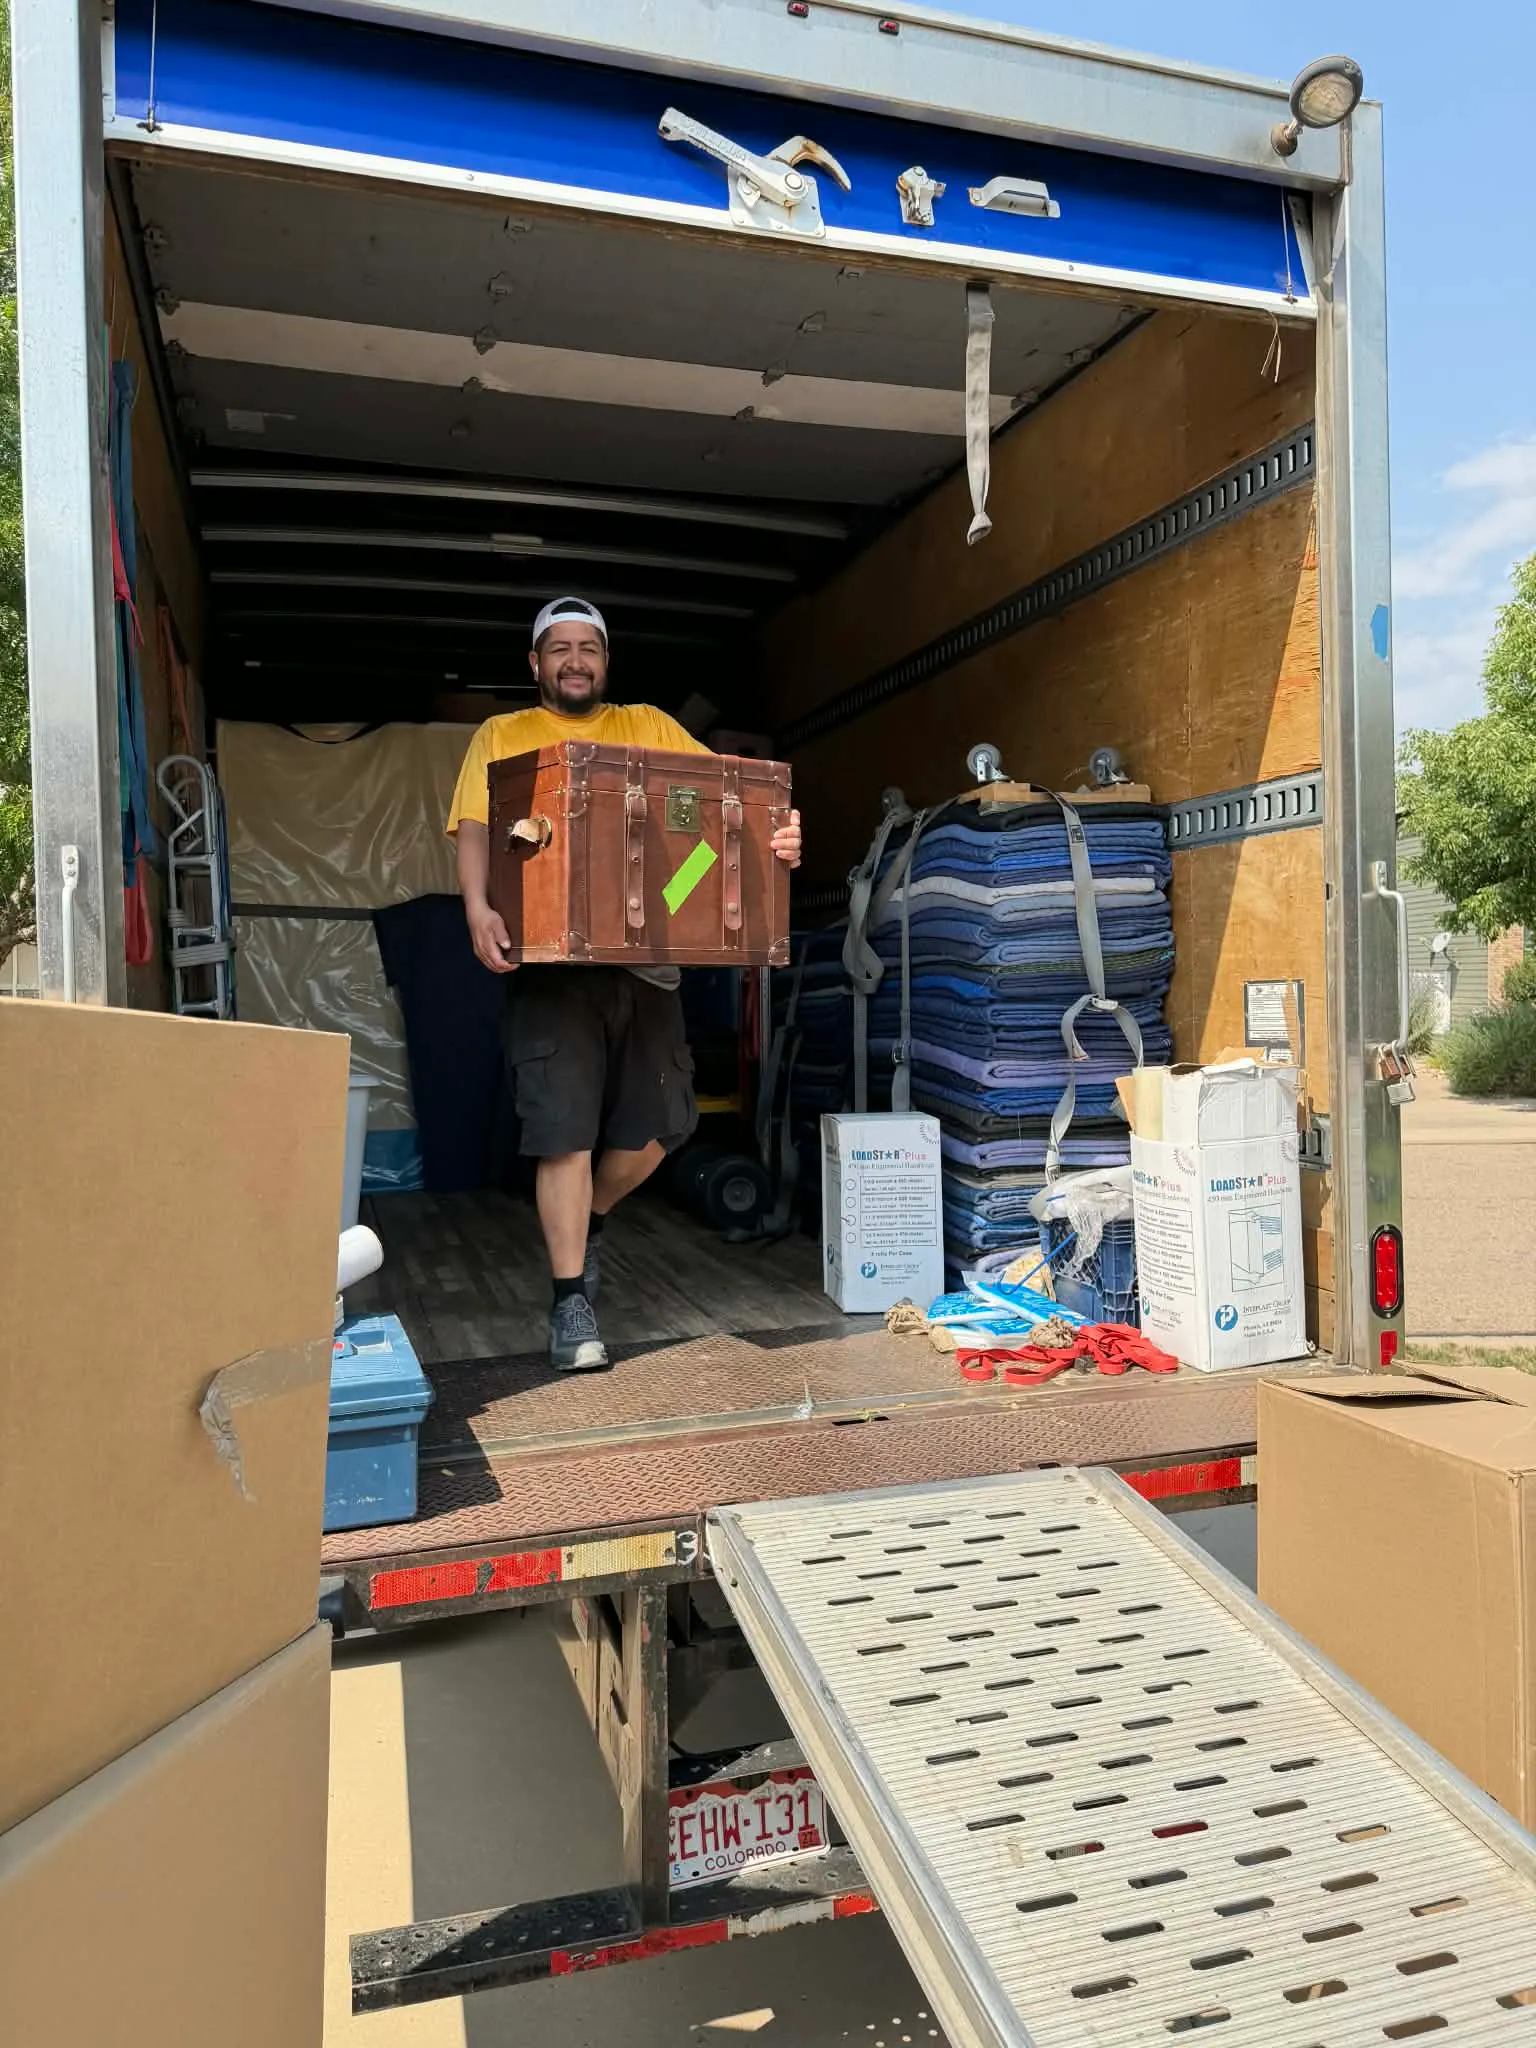
Protect the home before you start rolling
Clear rugs, hampers, cleaning supplies, small furniture, pet bowls, and boxes from the full route. Protect hardwood, tile, door trim, and sharp corners before the washer or dryer starts moving. A narrow laundry closet can force a machine to come out at an angle, so create space outside the doorway before trying to tip it onto equipment.
Use appropriate sliders only for the floor and the machine’s feet, and use them to access the back of the appliance rather than as a substitute for a controlled carry. Keep children and pets out of the route. Everyone helping should know who gives the stop command, because the person nearest the controls may not be able to see a hand, wall edge, or trailing cord.
The safest route is the route with room to stop. If you cannot set a machine down without blocking the path, move boxes first or choose another staging spot. That small bit of preparation prevents a rushed turn with several hundred pounds of appliance and nowhere safe to go.
Load one appliance at a time and keep it controlled
Move one machine at a time. Position the appliance dolly as the equipment instructions require, secure the load with a rated strap, and have a helper steady the machine while the dolly is tilted. Do not lift from a door, control panel, hose, or vent. Keep fingers away from the gap between the appliance, dolly, and doorway.
Keep the washer upright unless the manufacturer says otherwise. Bosch recommends keeping a washing machine upright, strapped to the appliance trolley, and protected with blankets. Its washing machine transport guidance also calls for measuring the destination and draining the hoses before the move.
On level ground, use short, controlled movements and communicate clearly: stop, clear, left, right, and down. Doorways, ramps, and stairs demand a higher bar. Do not rely on a strap alone to control a machine on an incline. If someone loses footing, cannot see the path, or has to carry more than they can control, set the machine down safely and reset the plan.
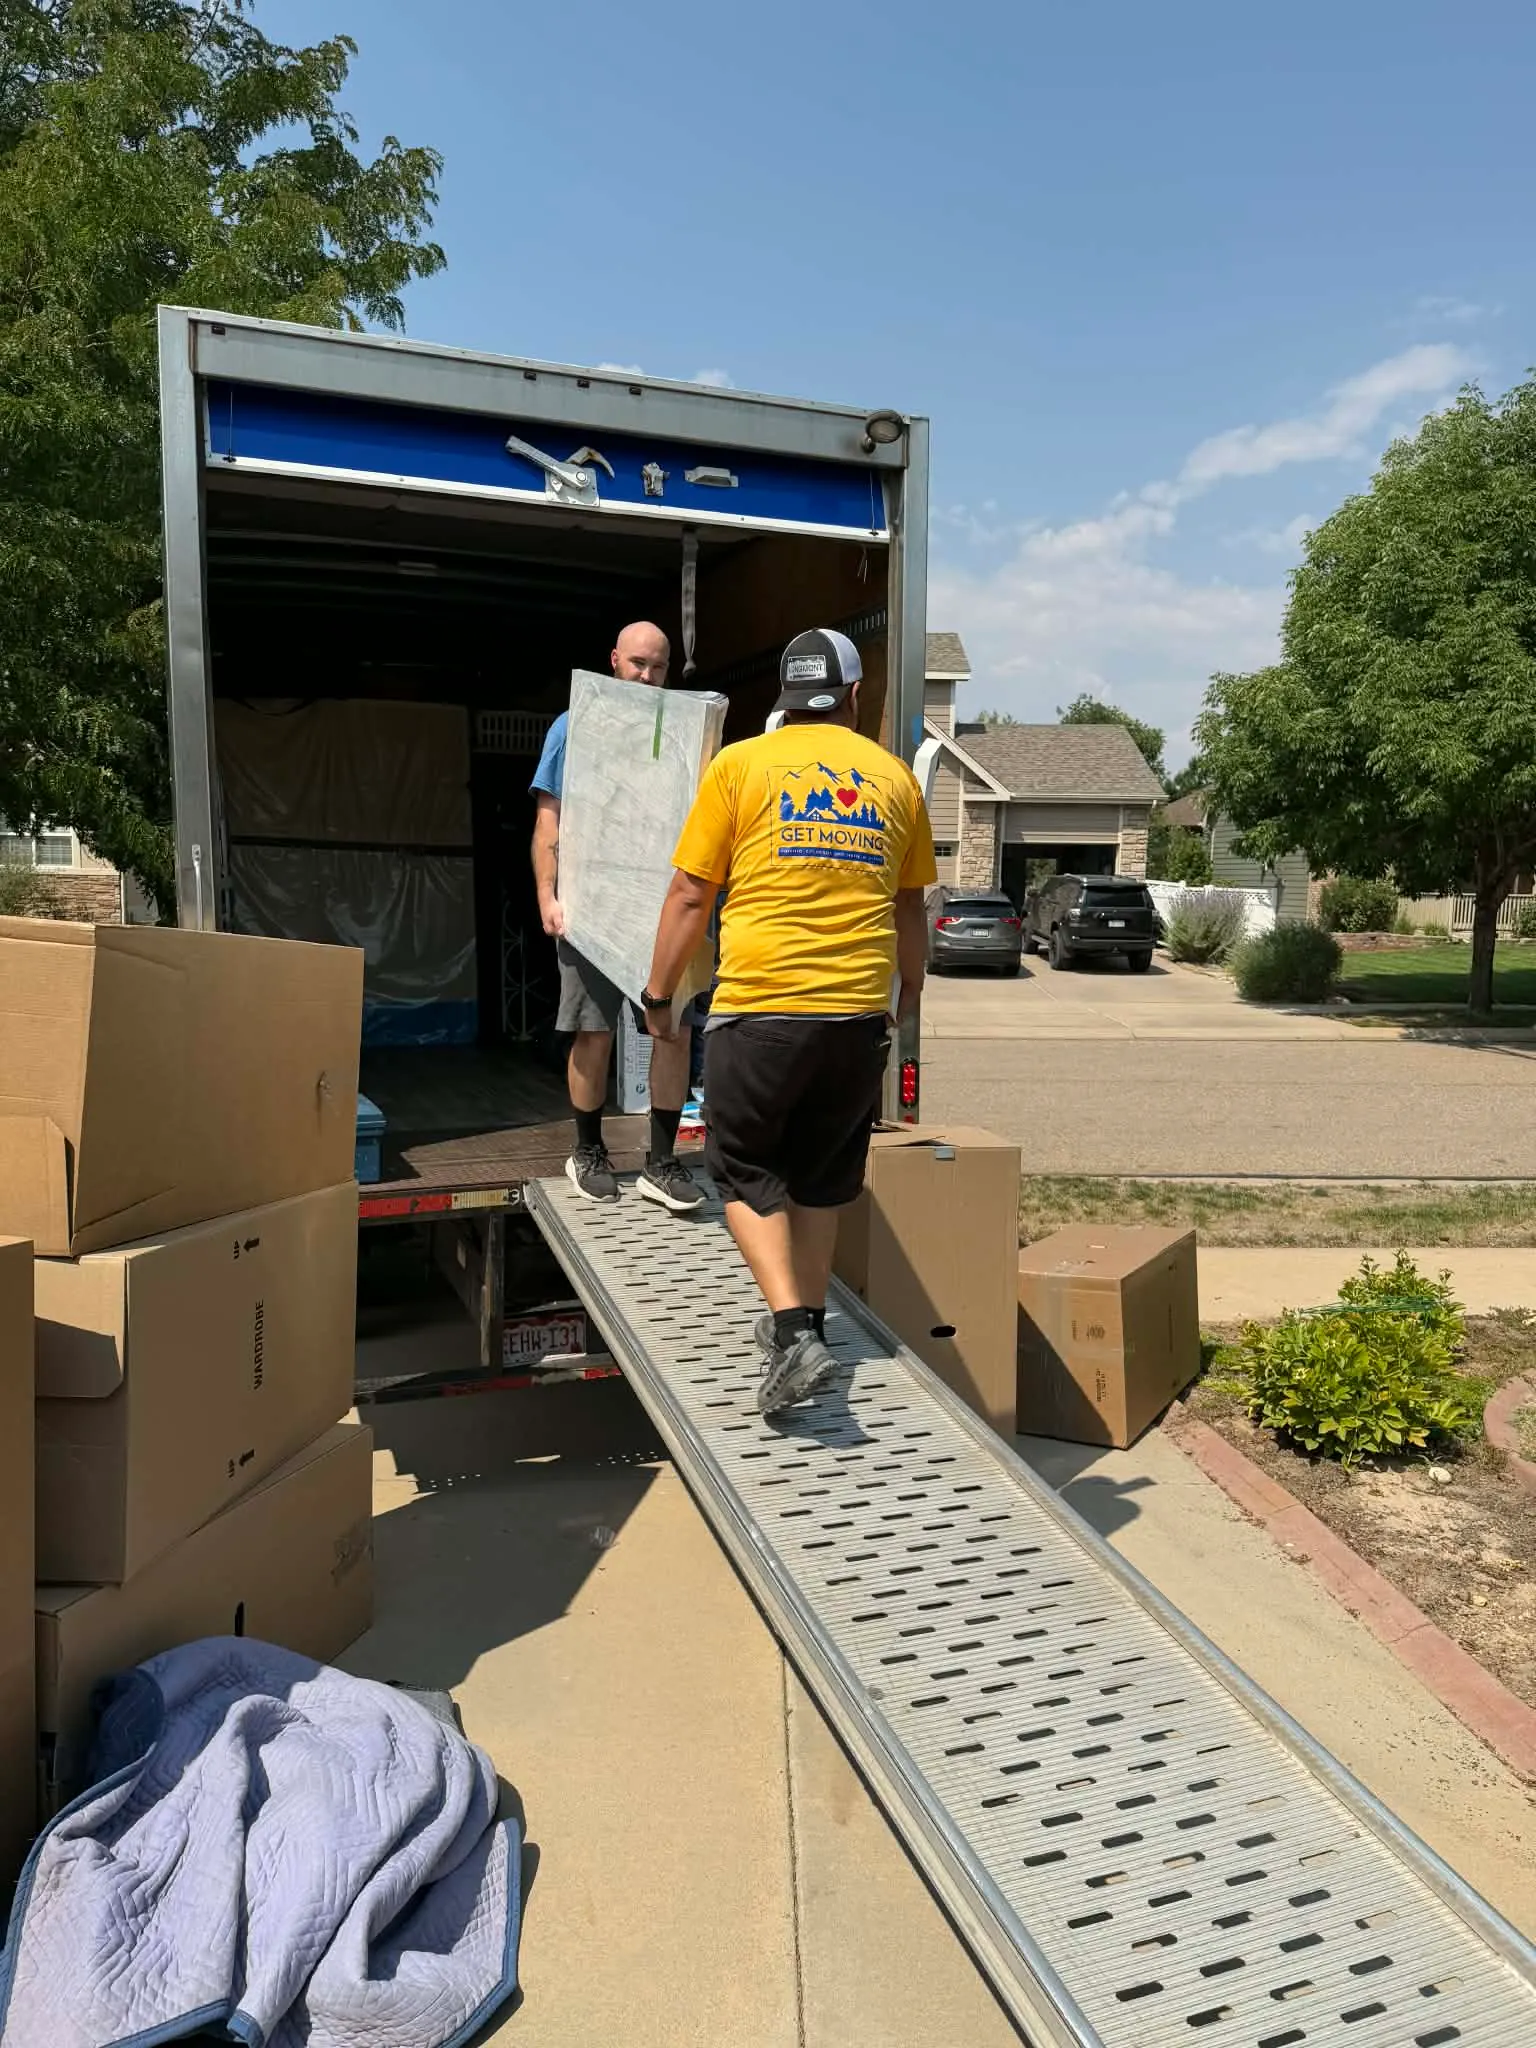
Secure the washer and dryer for transport
In the truck or container, keep both machines upright whenever possible and secure them to rated tie-down points. Blankets prevent scratches, but straps prevent movement. Keep the washer and dryer separate from loose furniture that could shift into their doors or control panels during a turn or hard stop.
Do not stack machines, set heavy boxes on top of them, or improvise a position that the manufacturer does not allow. A stacked washer-dryer unit needs especially careful planning. It is taller, more difficult to control, and not a casual two-person lift. If the set needs to be separated or the route involves stairs, professional moving help is the sensible call.
Make the final laundry-room measurements before loading the truck. Confirm the new space has the correct utilities and enough clearance for the doors, hoses, and venting. Moving a machine successfully only to discover it cannot be safely installed at the new home is an expensive way to learn that a tape measure matters.
Reconnect carefully at the new home
Bring the machines into position slowly, remove the protective wrapping, and level them before operating. For a washer, remove transit bolts if the manual requires it, reconnect the hoses, turn the water on, and check carefully for leaks before running a short test cycle. Whirlpool notes that proper leveling and a test cycle help confirm that a relocated washer is ready to use.
Reconnect the dryer vent according to the appliance instructions. For gas dryers, leave the gas connection to the qualified professional who handles that work. Do not make a final connection just because the move is nearly over. If anything about the hookups, venting, or floor support is uncertain, stop and get the right help.
Keep the manuals and any unused packing materials until both appliances have been tested. That way, if a machine vibrates, leaks, or has an installation issue, you can check the correct instructions rather than trying to reconstruct the move from memory.
Plan the appliance move as part of the whole household move
Appliances should be on the moving-day plan before the truck arrives, not mentioned as an afterthought while the laundry room is being cleared. Tell the crew which machines are moving, whether they are side by side or stacked, and whether the route includes stairs, a basement, a narrow hall, a porch, or a storage stop. Include the size of the machines if you have it, plus anything unusual about their access or condition.
Coordinate the utility work around the moving schedule. A washer that is disconnected too early can leave a household without laundry for days, while a washer disconnected too late may not have time to drain and dry. A gas dryer also needs its qualified disconnection scheduled before the moving crew needs access to the room. Those small timing details keep a complete household move from turning into several rushed, overlapping jobs.
If you are using a rental truck, portable container, or storage unit, decide whether the appliances are going directly to the new home or will be stored. A storage plan needs an upright, dry position where the machines are protected from shifting and moisture. A direct move needs enough room at the destination to stage and install them. Thinking through that sequence is easier when it happens during the estimate instead of at the curb.
When professional moving help is the better plan
Professional help is especially useful when the washer and dryer are part of a complete household move, the route includes stairs or tight turns, the set is stacked, or the access is shared with an apartment building. The value is not simply extra lifting. It is an organized crew, moving equipment, protection for the home, and a plan that accounts for all the other furniture and boxes on the same day.
Get Moving helps Northern Colorado households with complete residential moves, careful furniture and heavy-item moving, and loading or unloading help when you already have transportation arranged. For an accurate estimate, share the appliance type, stairs, access details, and whether a professional has already handled any gas connection when you request a free estimate.
A final washer-and-dryer moving checklist
Before moving day, confirm the route, the equipment, the manual instructions, and the utility plan. Empty and dry the washer, drain the hoses, secure the washer drum if required, disconnect the dryer vent, and arrange qualified help for any gas line. Protect the machines and the home, then move one appliance at a time with a clear stop point and enough capable people.
At the new home, measure before unloading, keep the machines upright, secure them in transport, level them before operating, and test the washer for leaks. The goal is not to prove that a difficult appliance move can be done quickly. It is to finish with the machines, the home, and the people helping all in good shape.
Frequently asked questions
Can I move a washer and dryer myself?
A washer and dryer move needs the right equipment, a clear route, and more than one capable person. It may be manageable on a level, open route with the model-specific preparation complete, but stairs, a tight laundry room, a stacked set, or a gas dryer are good reasons to arrange experienced help.
Do I need transit bolts to move a washing machine?
Many front-load washers use transit bolts to stabilize the drum during transport. Check the owner manual for the exact model and use the correct bolts or manufacturer-approved packing method. Do not assume every washer uses the same parts or can be moved without them.
Can a washer be transported on its side?
Keep a washer upright unless its own manufacturer specifically says another position is acceptable. An upright position helps protect the drum and suspension. If a machine was tilted or laid down, follow its manual before reconnecting and using it.
Who disconnects a gas dryer before a move?
A qualified appliance or gas professional should disconnect and reconnect a gas dryer. Moving crews can plan the carry and transport, but gas-line work needs the appropriate professional handling.